Create a Package
In this tutorial, you will understant how ROS packages work and you will create your first ROS package.
What is a Package?
A ROS package is simply a folder under your workspace. The name of the workspace can be various and you may want to create a new workspace for different purposes. For now, we will stick to what is readily available in our virtual machine and we will refer to this workspace as ~/ros2_ws throughout the tutorials.
Although a ROS package is a simple folder, not every folder is a ROS package. For a folder to be a ROS package, it should have these properties:
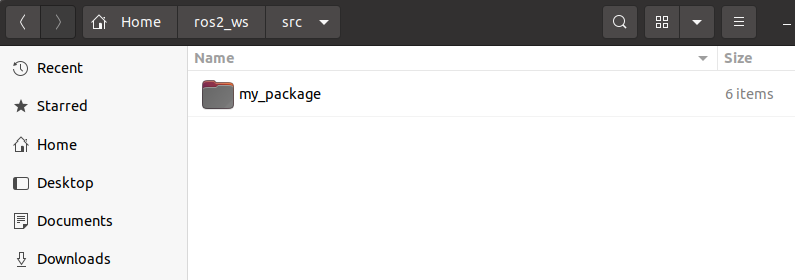
- It must be located under ~/ros2_ws/src
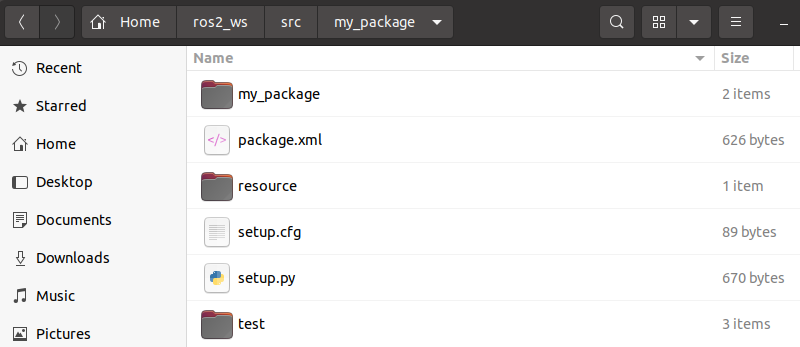
- It must have setup.py file, package.xml file, and a src directory.
Note that the second property is for Python-based ROS packages. It is possible (and very common) to create a C++ based package but we skip giving details about C++ packages in order not to make unnecessary confusion. You can read more about ROS packages in this link.
Create Your First Package
cd into ~/ros2_ws/src and
ros2 pkg create --build-type ament_python --node-name my_package my_package
In the above command, you can replace my_package with the desired name for your package but we will stick to that for this tutorial. This command creates a new ROS 2 Python package with the specified name.
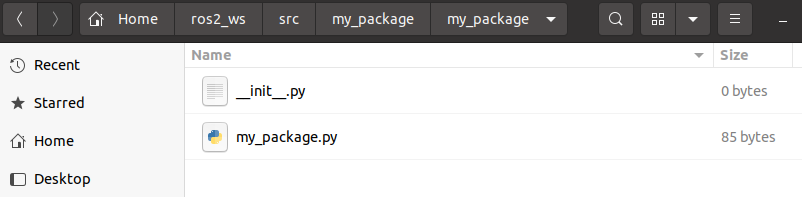
After running the command, you will see a new directory named my_package created in your current working directory. Inside this directory, you will find the basic structure of a ROS 2 Python package, including the setup.py file, package.xml file, and a src directory. You can then navigate into the ~/ros2_ws/src/my_package/ directory and start developing your Python code for the package. You can create Python scripts, modules, or any other necessary files within this directory to implement the functionality of your package.
Compile Your Package
cd into ~/ros2_ws and
colcon build
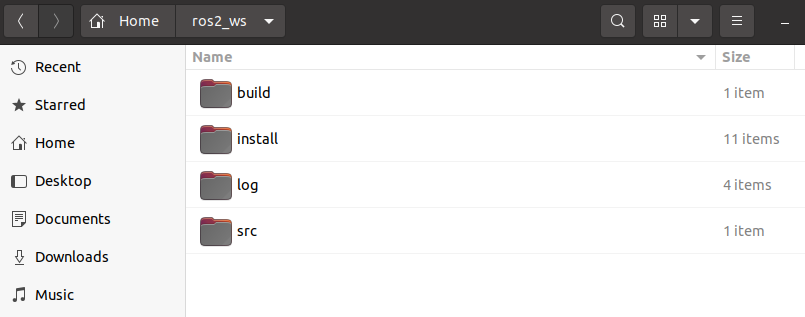
This command takes all the folders under ~/ros2_ws/src, compiles the files within certain rules (we will not go into details), and creates/modifies /install, /build and /log folders so that everything is ready and executable with ROS commands. You HAVE TO build your workspace every time you create a package or modify a file in your workspace.
Now you can see a folder with your package name both under /install and /build folders.
Well, you can escape building the whole workspace after every change partly. Python is a programming as well as a scripting language. The nodes which are created as Python scripts do not need to be compiled in the traditional way - they can simply be run. Therefore, you can create a symbolic link to your Python nodes once and the changes you do in the Python nodes will be effective immediately. To do that use colcon build --symlink-install instead.
Source Your Workspace
source ~/ros2_ws/install/setup.bash
or if you are already in ~/ros2_ws directory in your terminal:
source install/setup.bash
Sourcing is quite a Linux process, actually. It tells your system “run the commands in this file”. You source a .bash (or sometimes .sh) file which is a file that contains a sequence of commands that are executed by the bash program line by line. It is mentioned in more detail on our Linux Tutorial page.
By running colcon build, you compile all the source code under your workspace, and do little or more changes in your ROS system. To tell the Linux system what you have changed on the ROS side, you must source the necessary .bash (or .sh) file in your terminal.
Therefore you HAVE TO source your setup.bash after every time you build your workspace with colcon build. We will talk about when it is relevant later.
If you close the terminal and open a new one, it does automatically source your ~/ros2_ws.
Finally
Your workspace should look like this at the end of this tutorial: